Hello everyone! I hope this finds each of you in the midst of a joyful holiday season celebrating with those closest to you.
I have been working on this post for quite a while (get a drink it's gonna be a long one). For some time I've been wanting to provide reviews on brands as a whole instead of individual products. I know often times I can get somewhat stuck in a rut, sticking to specific brands and products that I know work best for me. Nothing is wrong with it, but it's also fun to try out products/brands that are perhaps unfamiliar. Unfortunately with the cost of many cosmetic prices, it's not always feasible to grab a bunch of products to experiment with. Especially if the products don't end up working for you.
So I hope that this (and future posts like it) can help you navigate through some of the various brands and products that you may encounter in the cosmetic world. Perhaps you find some information here that makes you feel comfortable with indulging in a pricier splurge. Or after reading this you decide that it's best to save your money when it comes to a particular product.
For full disclosure, I purchased all of these products with my own money. All the reviews are my own. I am not affiliated or sponsored by Too Faced cosmetics in any way.
Ok enough of the boring stuff, lets get into the review. As a general introduction Too Faced is a high end cosmetic brand available through Ulta, Sephora, Macy's and other similar cosmetic stores as well as
TooFaced.com. The whole brand is cruelty-free and many (but not all) the products are also vegan.
It's well known for its elaborate and ultra-feminine packaging, often sporting bright colorful cases emblazoned with script fonts, flourishes, bows and of course sparkles. The packaging, while cute, actually kept me away from the brand for a long time as it can be very reminiscent of the cheap play makeup one would see in the dress up aisles of discount stores. But just like a book should not be judged by its cover, make-up should not be solely judged on its packaging.
Love Flush Long Lasting 16-hour Blush - $26.00 - 0.21oz
 |
| Too Faced Love Flush Long Lasting Blushes feature playful packaging color coordinated to the blush within |
Speaking of packaging....these blushes are a prime example of the ultra feminine style of Too Faced. It's not my favorite, they are kind of hard to get open. However the product itself is amazing. These are richly pigmented, and finely milled which allows for easy blending. I have not personally tested the 16-hour wear time that is being claimed, but I have never had any issues with the blush fading or breaking down on me.
 |
| Too Faced Love Flush Blushes from Left to Right in Baby Love, Your Love Is King, and Justify My Love |
There are 6 colors available of which I have 3 (shown above). Baby Love I used a ton last summer as it gave a very natural warm pink glow that looked great with a tan. Justify My Love is my year round baby pink color. Your Love Is King is my newest shade and I really like it for the fall and winter when you want that just-in-from-the-cold type look.
 |
| Too Faced Love Flush swatches from Left to Right: Baby Love, Your Love is King, and Justify My Love |
Chocolate Soleil Matte Bronzer - $30.00 - 0.35oz
 |
| Deluxe Sample of Too Faced Chocolate Soleil Matte Bronzer |
Just for clarification, the image I have is of my sample size of the Chocolate Soleil bronzer. The price and the size reflected in the title is the cost of the full-sized product.
 |
| Too Faced Cocolate Soleil Matte Bronzer swatched |
This is one of Too Faced's better known products. It is a matte bronzer infused with cocoa powder, so it smells absolutely delicious. The powder is very finely milled and blends well. Unfortunately it is way too dark of color for me. They also offer a lighter formula (Milk Chocolate Soleil), a deep formula (Dark Chocolate Soleil) as well as several blush/bronzer combinations.
I have played around with the Milk Chocolate in the store, it blends well and is also finely milled, but the base color is too warm and pulls orange on my skin. As such I think these products work best for those with warm to neutral undertones. If you have cool undertones such as myself , it may be best to avoid this product.
Hangover Rx Replenishing Face Primer - $32.00 - 1.35oz
 |
| Deluxe Sample of Too Faced Hangover Rx Replenishing Face Primer |
Another sample sized product (I make those Sephora points work for me), the noted price and size are for the full sized product. What is pictured is my sample.
A silicone-free primer, this contains coconut water, probiotics, and "skin revivers" that are supposed to help promote skin brightness and elasticity while hydrating, smoothing the skin texture and extending the wear of makeup. It has a slight coconut scent to it that quickly disappears after application.
I had a lot of hope for this as my skin is usually brutally dry in the winter. A primer that promised to promote hydration and brightness is exactly what I was looking for. Unfortunately it didn't deliver. It was a slightly uncomfortable formula for me as it left a bit of a sticky feeling residue. I didn't feel any hydration benefits compared to my usual primer, nor did I see any bright or dewey complexion that was promised. As far as extending the wear of my makeup it didn't increase or decrease the wear time compared to my other primer.
Being dry I don't often have issues with my makeup breaking down, usually I use a primer as a mixing agent for the CoverFX drops that I use as a foundation. Occasionally I will use a pore-filling primer, but in those instances a primer with a silicone like component works best on me. Being that it didn't particularly help, and it left the annoying sticky residue I wouldn't personally recommend this primer.
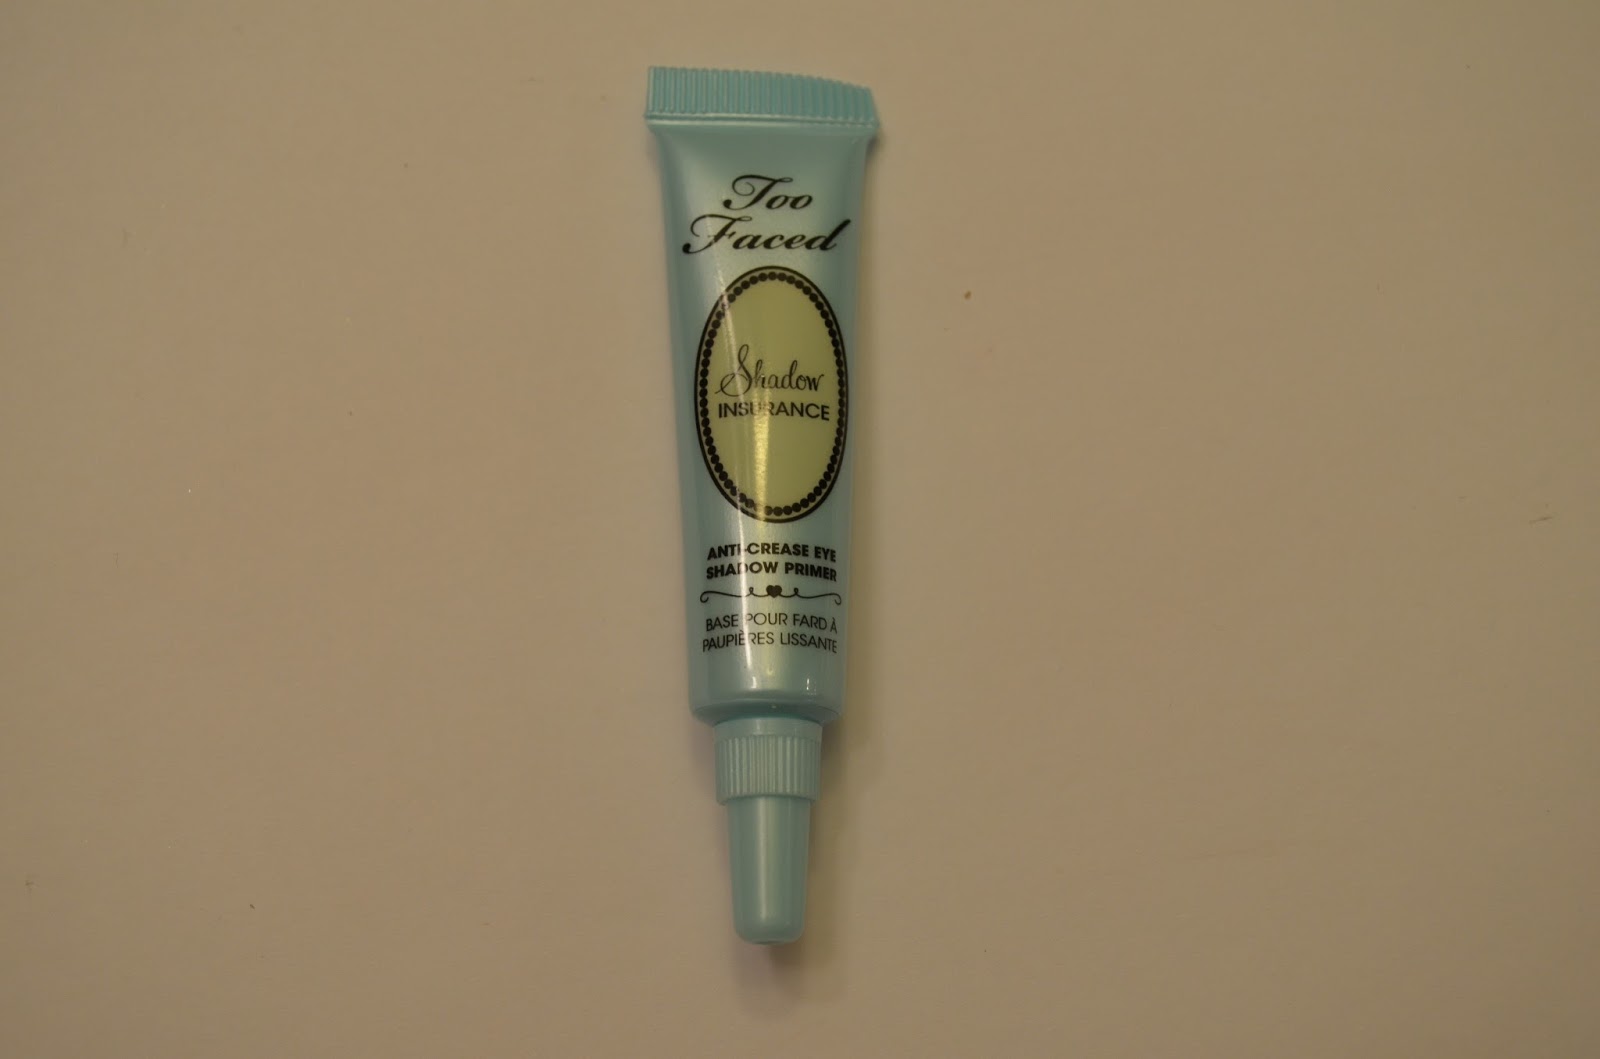
Shadow Insurance Anti-Crease Eye Shadow Primer - $20.00 - 0.35oz
 |
| Deluxe Sample of Too Faced Shadow Insurance Anti-Crease Eye Shadow Primer |
Yet another sample sized product. This came with one of the palettes I bought. The price and size above reflects the cost of the full sized product.
While my skin is dry, I do have somewhat oily eyelids and have found my eye shadow creases when I don't prime my lids. In addition as a contacts wearer I like having a primer to lock down the softer more powdery shadows, I have found it generally helps prevent irritation from excessive fallout.
I like this primer, it does what it claims. The formula is light and applies smoothly. It dries relatively fast and its light beige color helps even out the color of my lids. Eyeshadow stays in place (although I have never tested it's waterproof claims) longer than if I had not primed at all. I place it on par with other high end brands of eye shadow primer. If you have creasing or fading issues with your eye shadow and drugstore primers just aren't working I'd recommend giving this one a try.
The Return of Sexy Eye Shadow Palette - $49.00
 |
| Too Faced The Return of Sexy Eye Shadow Palette |
This palette contains 15 eye shadows with a total net weight of 15g or 0.53oz. It also includes a full sized Perfect Eyes Eyeliner (0.04oz) and a deluxe sample of the Shadow Insurance primer (0.17oz).
 |
| Palette includes 3 Eye Shadow Quints from Left to Right: the Ingenue, the Icon, and the Bombshell |
The palette is divided up into three style looks, the Ingenue, the Icon and the Bombshell. Each look has 5 coordinating shadows including a highlight color, 3 midtone colors and 1 dark color. All of the shadows are extremely glittery or shimmery and as such I only use this for special events or nights out when I want a more dramatic eye look.
 |
| The Ingenue Quint Includes Shadows from Left to Right: Naive, Ingenue, Innocent, New In Town, Casting Couch |
As most glittery shadows are, these are a bit gritty save for Pink Diamond which is surprisingly soft. I found Ingenue to be the most difficult to work with, and New In Town to be very sheer. Considering how common gold/bronze/shimmery brown shadows are, I would say over all the shadows in the Ingenue look quint are rather disappointing. If you are buying the palette specifically for these color options, spend it elsewhere.
 |
| The Icon Quint Includes Shadows from Left to Right: Pink Diamond, Icon, Divorcee, Hopeless Romantic, Primadonna |
That is NOT the case for the Icon and Bombshell quints. I found these shadows to be well pigmented albeit a bit gritty (again they have glitter), and when paired with a good primer the wear time is good. I used Bombshell and Hollywood for a Christmas party, and had very little to no creasing by the end of the night, also no fallout.
|
| The Bombshell Quint Includes Shadows from Left to Right: 7 Year Itch, Bombshell, Hollywood, Maneater, Beautymark |
Overall I would say this is not a need-to-have palette. While the formula is nice for a glitter-intense shadow, there are no matte shades to create a more toned down look or use as a transition shadow. As such, I find myself only occasionally reaching for this. When I do use it, I have to use other shadow products as well. Considering the relatively high price tag, I'd save my money for something that will provide more looks.
Chocolate Bar Eye Shadow Collection - $49.00
 |
| Too Faced Chocolate Bar Eye Shadow Collection |
Similar to the Cocolate Soleil bronzers, all the shadows in the Chocolate Bar collection are infused with cocoa powder and smell just like chocolate. There are 16 shadows total. 14 shadows are 0.03oz each for a total weight of 0.42oz. The remaining 2 highlight shadows are larger at 0.07oz each for a total weight of 0.14oz.
 |
| Chocolate Bar Eyeshadow Collection Features 16 Shadows Including 2 Larger Sized Highlights |
Where the Return of Sexy Palette dropped short, the Chocolate Bar picks up the slack. There is a great mix of matte, shimmer and glittery shades in this palette. As well as a good mix of neutral brown shades and pops of color. The result is a well balanced palette that allows for several different looks both daytime appropriate and nighttime dramatic.
 |
| Chocolate Bar Swatches from Left to Right: Gilded Ganache, Salted Caramel, Hazelnut, White Chocolate, Marzipan, Creme Brulee |
All of the shadows blend out easily, including the mattes. They are well pigmented and smooth. The brown colors may not be the most original, however the addition of the plum, pink and burgundy shades add more variation and versatility than a traditional neutral palette.
 |
| Chocolate Bar Swatches from Left to Right: Semi-Sweet, Haute Chocolate, Milk Chocolate, Strawberry Bon Bon, Cherry Cordial |
There were two colors (Cherry Cordial and Triple Fudge) that I had a bit of trouble with. There seemed to be a bit of a hard pan-type layer covering the top. Once I worked with them a little more and dug in a bit they softened up considerably.
 |
| Chocolate Bar Swatches from Left to Right: Black Forest Truffle, Candied Violet, Champagne Truffle, Triple Fudge, Amaretto |
Unlike the Return to Sexy palette which is only pulled out for special occasions, I feel this palette is set up for many more looks. The combination of matte shades with the shimmers allows it to be used day into night and the pop of color available allows for the user to venture outside the traditional brown looks. The addition of the cocoa powder adds a bit of uniqueness which also makes this palette stand out. Taking into account that the overall formula is nice and consistent, I would highly recommend this palette to anyone who is interested in exploring this brand or high end makeup in general.
Better Than Sex Mascara - $23.00 - 0.27oz
 |
| Deluxe Sample of Too Faced Better Than Sex Mascara in Black |
What I have is another deluxe size sample product. So what I have pictured is not the full size. The brush size and shape however is the same.
Longer lashes and 1,944% more volume is what is promised by the advertisement for this product. I think a lot of that volume comes in the form of a chunk. Maybe my sample was bad, old, or overly dried out, because man is this stuff thick. The brush, however, is amazing. If I could pull it out, clean it off and use it with other brands, I would.
The first application I barely got anything on my lashes at all. Second coat and later applications deposited more product, but what was deposited was very clumpy and dry. I didn't even attempt a third coat which was supposed to "make me believe in magic." Did my lashes look bigger? Yes because it was obvious I had a craptacular amount of mascara on. Personally that is just not a look I go for. Also as a contacts wearer it became increasingly uncomfortable as the formula started to dry and flake throughout the day.
Overall this just isn't something I would recommend. I am particularly hard on mascara, especially high end brands. Usually I love the wands/brushes offered in expensive mascara but don't find the formulas any better or worse than what the drugstores offer. Bottom line, save your money for one of their other products.
La Creme Color Drenched Lipstick - $22.00 - 0.11oz
 |
| Too Faced La Creme Color Drenched Lipsticks |
In my opinion this is THE big daddy formula of any hydrating lipstick. The formula is incredibly comfortable, it honestly feels like a lip balm. In the winter I usually suffer from chapped, peeling lips (who doesn't) and this is one lip color that I feel I can wear that doesn't dry my lips out more or highlight the trouble spots.
 |
| La Creme Lipstick Swatches from Left to Right: Honey Bear, Pink Chocolate, Bumbleberry |
That doesn't mean this lipstick is without faults. For starters like all hydrating lip formulas, the wear time is much shorter than a drier or matte formula lipstick. There is some transfer and re-application will be necessary after eating. Also true to most hydrating formulas, the color is more sheer. It still has a good color payoff, better than most lipsticks of similar formula, but you will not get an intense painted on look that you can achieve with a liquid lipstick.
In short I think this is a fantastic splurge item, especially if you have problems with dry chapped lips or find many lipstick formulas uncomfortable to wear. While the collection features 32 shades, most of them are fairly similar and very daytime appropriate. My recommendation would be to find the one shade you love (or that my-lips-but-better shade) that you will wear every day, and buy that one. This isn't the formula or the collection to go searching for the new daring color (it's unlikely they will even have it). And it's more cost effective to invest in the color that you will wear every day.
Melted Liquified Long Wear Lipstick - $21.00 - 0.4oz
 |
| Too Faced Melted Liquified Long Wear Lipstick |
On the opposite end of the spectrum from the La Creme line is the Melted liquid lipsticks. Available in 18 original colors, 8 metal colors and 6 new chocolate colors, these lipsticks pack a serious color punch.
 |
| Melted Lipstick Swatches from Left to Right: Melted Berry, Melted Fig |
Of course the pigmentation and longevity come at a very slight discomfort price as it is in no way hydrating. Unlike other liquid lipsticks that dry to a matte formula, these have a more glossy appearance and are not nearly as drying. I found myself wearing the formula fairly comfortably for 6 hours. There was a slight bit of crumbling when the formula dried out and showed signs of wear, but that was also after eating and drinking. I found hydrating the lips before applying helped tremendously with any dry feelings.
Application is very easy. The tube is reminiscent of that of liquid chap stick, however the tip is felt rather than plastic and it evenly disperses the product which is light and thin. A little goes a long way especially in the bolder colors. The formula does have a staining action to it which contributes to it's longevity.
Despite it's rather high price tag, I do love this lipstick. Melted Fig (pictured above) is by far my favorite color in the collection, and actually is a serious contender for my favorite lipstick of all time. If budget is an issue I recommend picking a single color that is your go-to bold lip look. The comfort of the formula will keep you from wanting to scratch your lips off while the longevity will keep you from constant reapplication.
Overall Thoughts/Observations
If you are new to high end makeup, or want to give a new brand a try, I think Too Faced is a good brand to go with. They have a solid line of of products especially when it comes to eye shadows, lipsticks and blushes. I have not personally tried out their Born This Way foundation, but I have heard very good things about it. There are only a small handful of products that I flat out don't like, and the bronzer I avoid only because it doesn't work well with my skin tone.
Thank you all so very much for stopping by! This was a monster of a post but I want to be as thorough as possible with these brand reviews. If this is a type of post you would like to see more of let me know in the comments below! Have a very merry holiday and I will see you next week!